ALBUM 63 - 104 SIG SQN
Click on Picture to
view full size
|

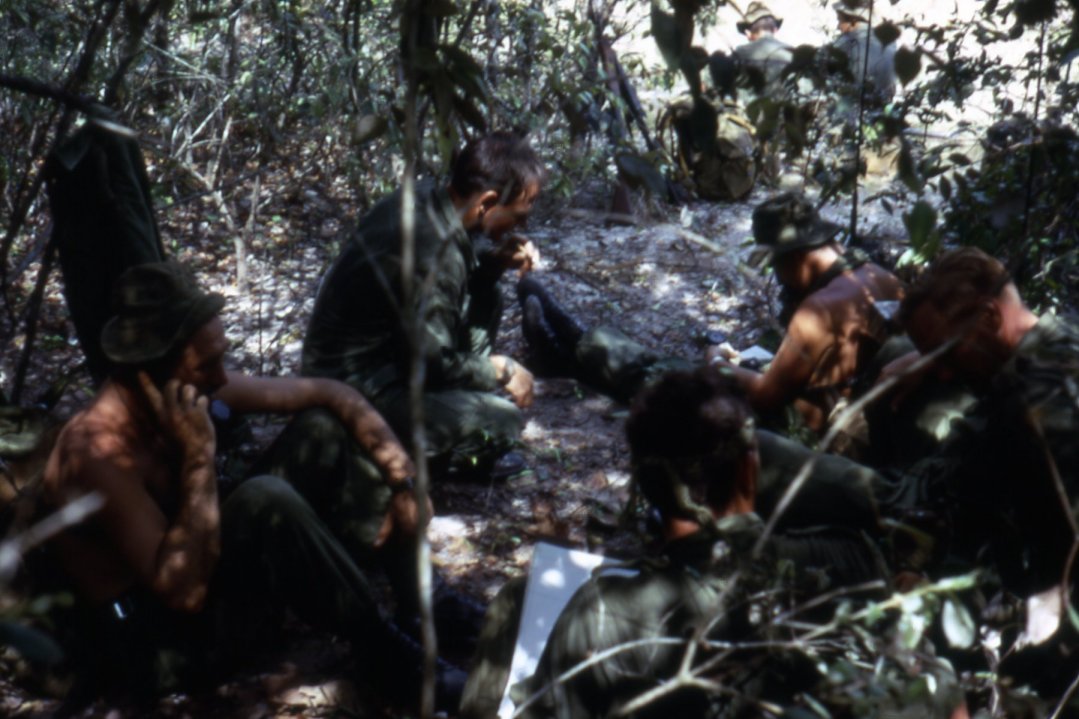
63-1. 3RAR Radio Operators working at FSPB
Balmoral. Photo supplied by Tom Spring [May/June 1968]
|

63-2. Enemy fired mortar fin at FSPB
Balmoral. Photo supplied by Tom Spring [May/June 1968]
|
|

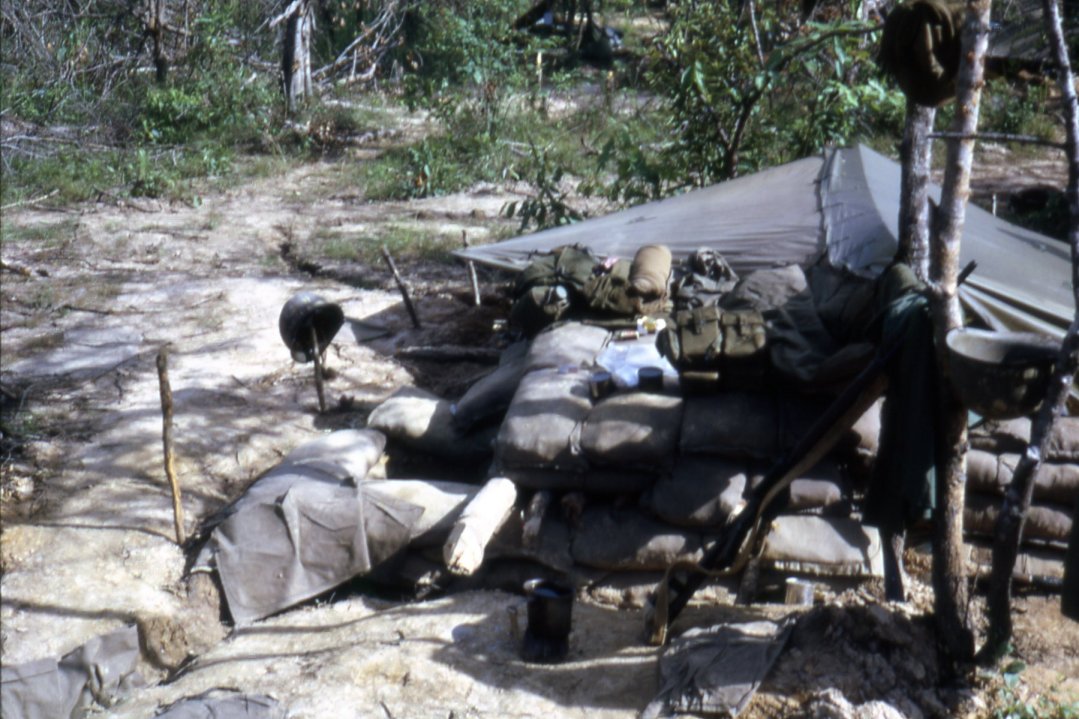
63-3. 3RAR CP at FSPB Balmoral. Photo supplied
by Tom Spring [May/June 1968]
|

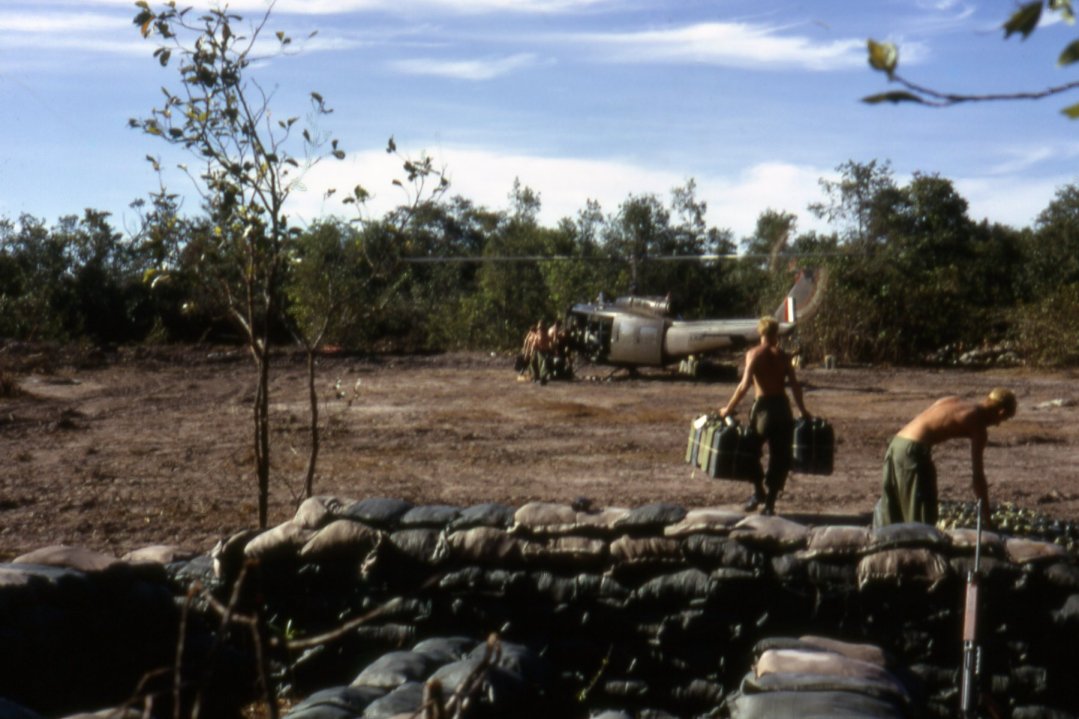
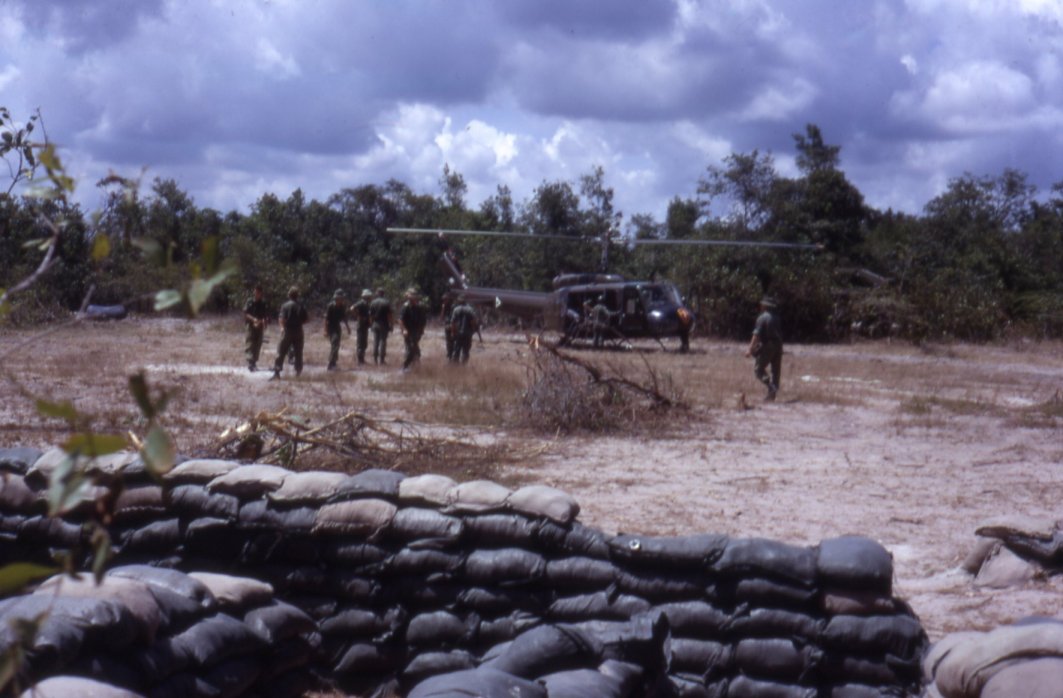
63-4. Resupply for FSPB Balmoral. Photo
supplied by Tom Spring [May/June 1968]
|
|

63-5. Gen Westmoreland (Commander,
MACV) talking to 3RAR CO (Lt Col Jim Shelton) before leaving FSPB
Balmoral. Photo supplied by Tom Spring [May/June 1968]
MACV = Military Assistance Command
Vietnam
|

63-6. Gen Westmoreland (Commander, MACV) about
to leave FSPB Balmoral after visit. 3RAR Officers waiting for his
departure. Photo supplied by Tom Spring [May/June 1968]
|
|

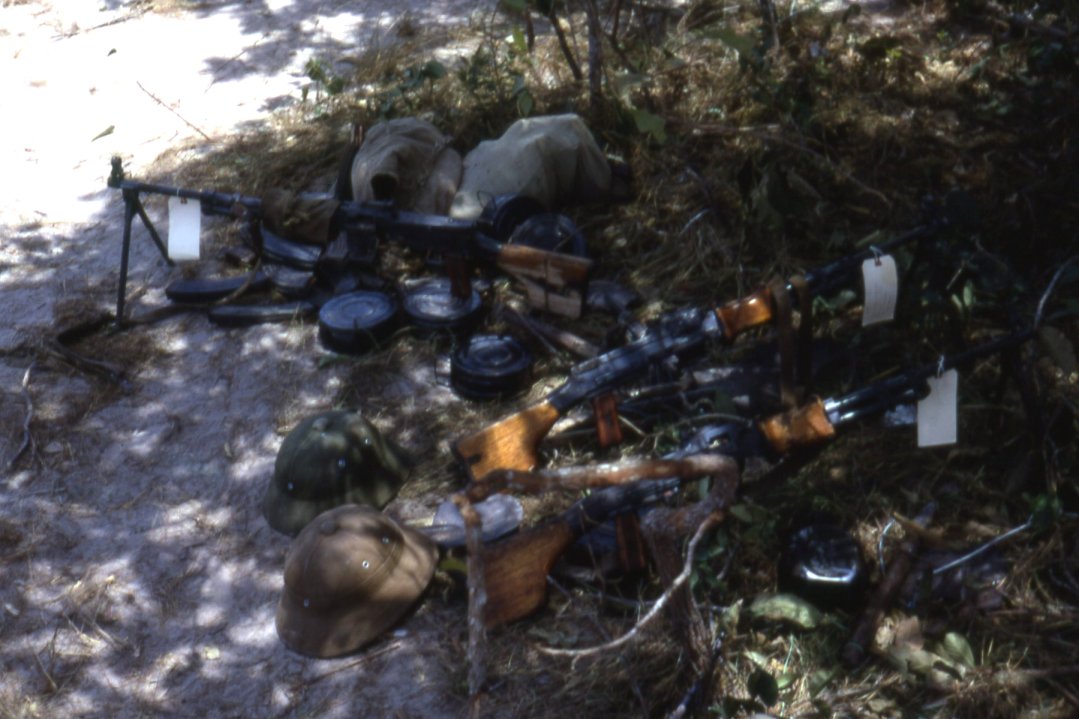
63-7. Captured weapons at FSPB Balmoral. Photo
supplied by Tom Spring [May/June 1968]
|

63-8. Captured weapons at FSPB
Balmoral. Photo supplied by Tom Spring [May/June 1968]
|
|

63-9. 3RAR Mortar crewman cleaning mortar tube
at FSPB Coogee. Photo supplied by Tom Spring [May/June 1968]
|

63-10. Tom Spring home
at FSPB Coogee. Photo supplied by Tom Spring [May/June 1968]
Comment:
Tom was part of the 104 Sig Sqn Radio Det
working with 3RAR |
|

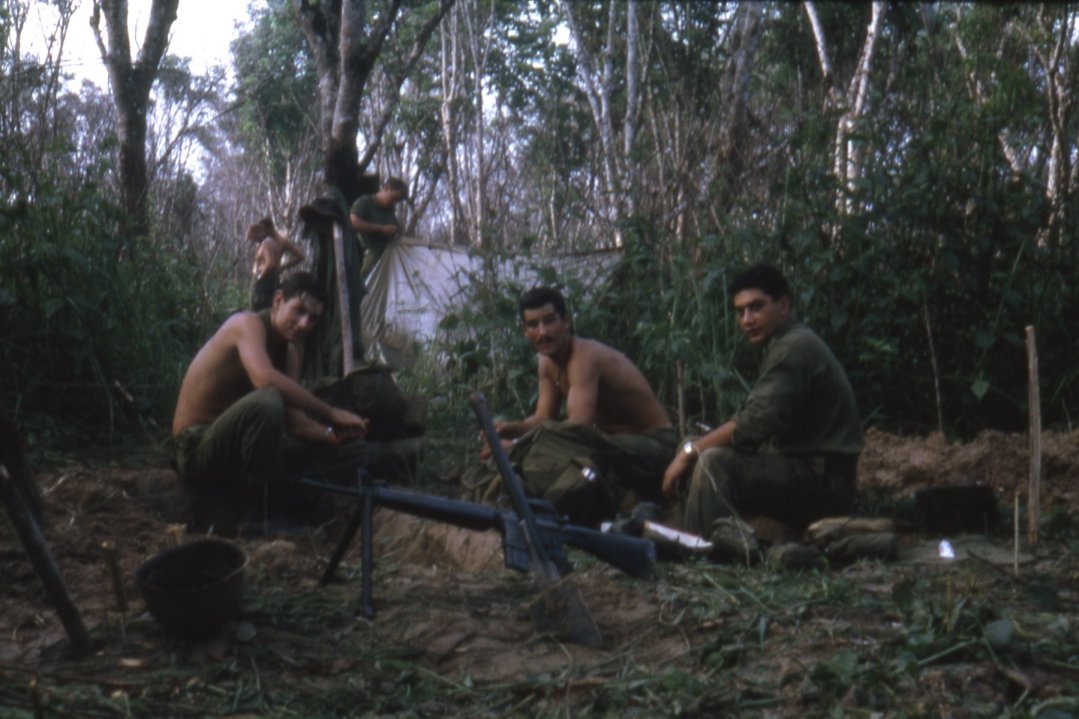
63-11. 3RAR Sig Platoon
working at FSPB Coogee. Photo supplied by Tom Spring [May/June 1968]
|

63-12. Fire Control Team from 161 Field Battery
(RNZA) at FSPB Coogee. Kiwi guns were working in support of 3RAR. Photo
supplied by Tom Spring [May/June 1968]
RNZA = Royal New Zealand Army
|
|

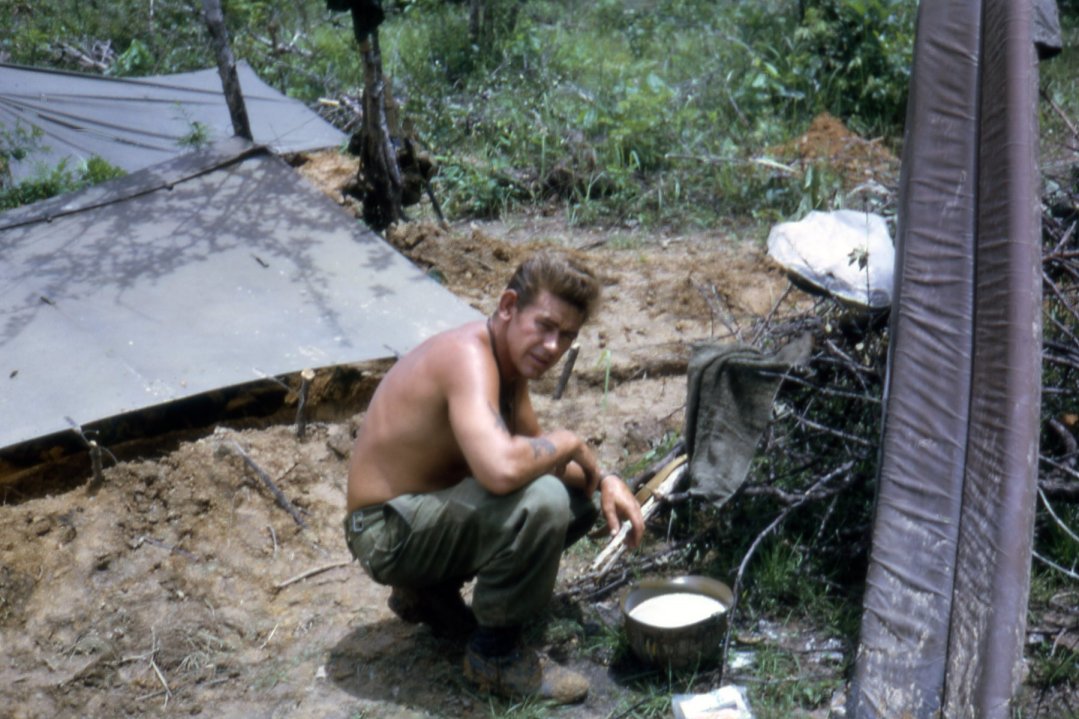
63-13. Dave Ellis at
FSPB Coogee. Photo supplied by Tom Spring [May/June 1968]
Comment:
Dave was part of the 104 Sig Sqn Radio Det
working with 3RAR
|

63-14. Unknown at FSPB
Coogee. Photo supplied by Tom Spring [May/June 1968]
|
|

63-15. Bobby Ellis at FSPB Coogee. Photo
supplied by Tom Spring [May/June 1968]
Comment:
Bobby was part of the 104 Sig
Sqn Radio Det working with 3RAR
|

63-16. 3RAR on the way home on the deck of
HMAS Sydney "The Vung Tau Ferry". Photo supplied by Tom Spring [1968]
|
|

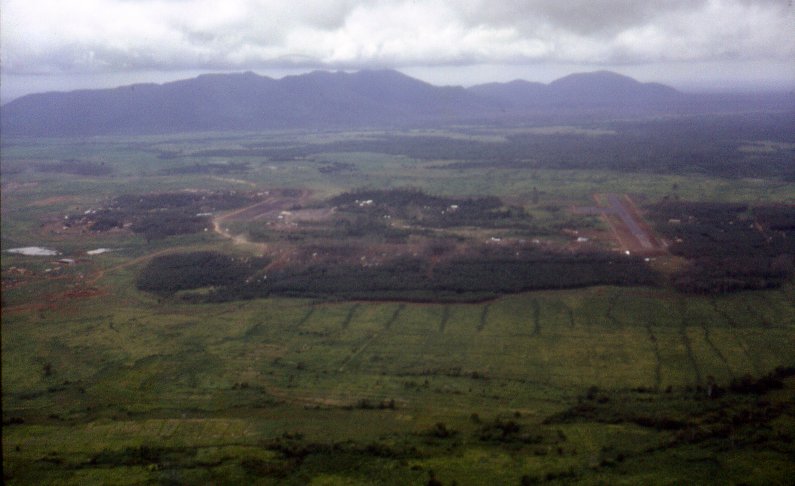
63-17. View of Nui Dat looking at 3RAR area
in the foreground of the base. Photo supplied by Tom Spring [1968]
|

63-18. View from VC Hill, Vung Tau. Photo
supplied by Tom Spring [1968]
|
Click on Picture to view full size
|
| Back |
Photo Index |
Next |
| If you would
like copies of some of the photos or can complete some of the missing
names or have photos that I can add to this Web Site, please
email
with details. |